Video Tutorial
Fabric Requirement
18 Inch Doll: 36" x 24"
14 Inch Doll: 24" x 20"
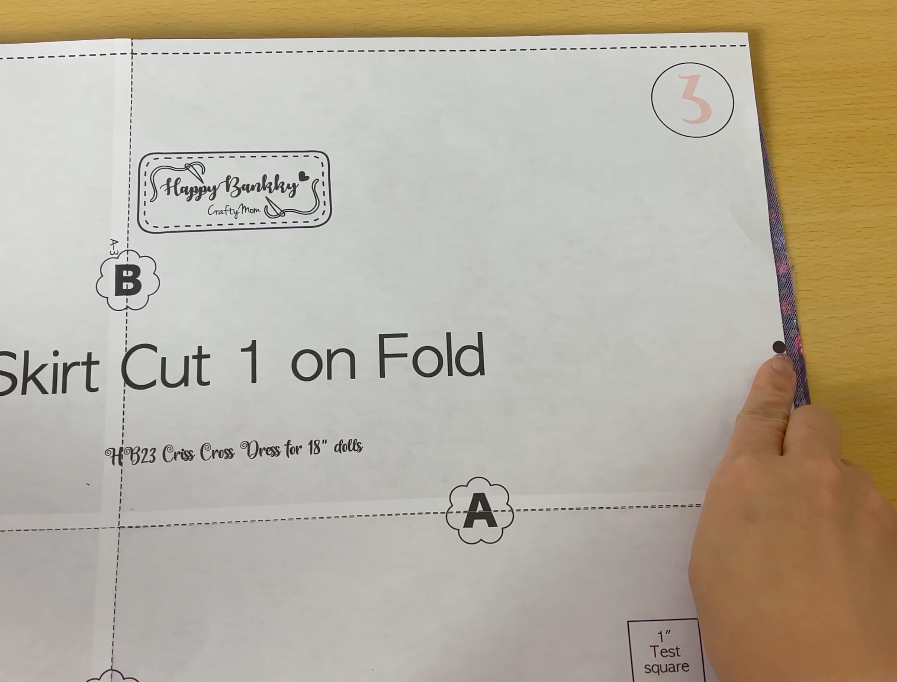
Connect the pattern, Cut all the fabric according to the patterns

Instruction
1. Sew the bodice front to back sections at the shoulders, Do the same with the lining.
Press seam open.


2. Sew the lining to the bodice at the front to the center back seams and each armhole.

3. Clip the curves, corner and turn the right side out; Press.
4. Matching armhole seams. Stitch together the bodice front to bodice back at the side seam. Press seam flat.
5. Overlap front bodice, matching side seam pin and baste.
6. Hem at the bottom of skirt. (I use narrow rolled hem foot)

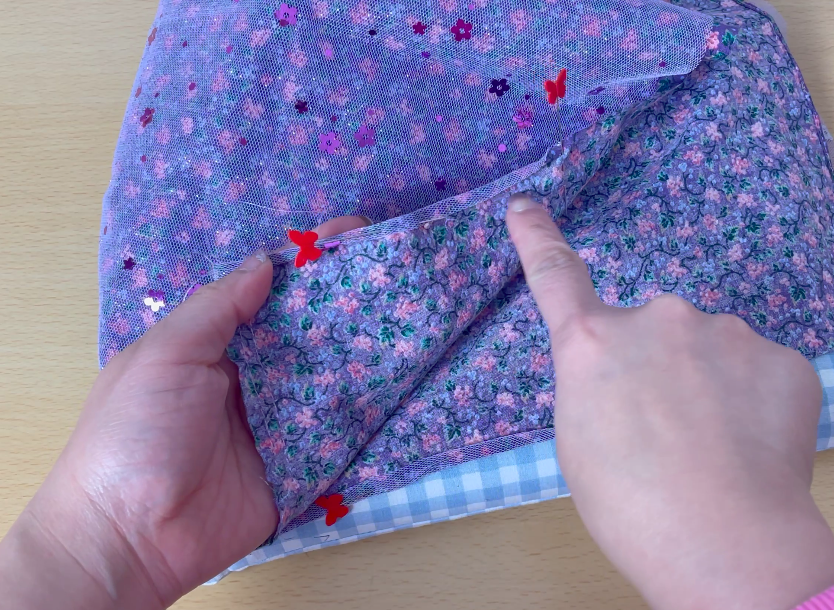
**Optional: add glitter tulle on top of skirt part.

7. From the marking point, Double fold the skirt opening, press and top stitch.
8. Gather skirt sew two rows for straight stitches.

9. Pin center of the skirt matching center of the bodice. Adjust gathering to fit bodice. Pin and stitch.


10. Press the seam allowance toward the bodice and top stitch.

11. Pin and sew the center back edge right side together.
12. Cut the hook and loop tape (Velcro), Sew along the edge of the center back.

The dress is done, You can sew in ribbon flower, pretty button etc.,

#Sash/Belt
13. Fold the long strip in half lengthwise, mark 2 inch away from the top.

14. Start stitching from the left corner then curve to marking point on raw edges, leaving 2-3 inch opening on one side.
15. Trim the corner and turn the right side out, topstitch.


Was this tutorial helpful? Consider buying me a cup of coffee! Venmo Me @Bankky-Nomoto
It will help cover the costs around here and encourage more free patterns and tutorial


